It Blinks!
With a moderate and totally reasonable amount of hassle, I was able to get a blinking LED running on my Nucleo board! I have brought up a microcontroller development environment up from scratch three times; the other two were firmly in the realm of epic trainwreck that made me strongly consider abandoning the project. This was substantially better and I feel like I’ve made a reasonable choice on MCU platform.
STM32 First Impressions
Overall, getting STM32CubeIDE up and running went pretty well. I think that, under normal circumstances, I’d have no complaints whatsoever, but I happened to be on a spotty rural internet connection at the time. On the first launch of the IDE, the flow seems to be:
- Welcome screen
- Download many small update packages from the cloud
- Define your first project
- Download a great big single blob of zipped middleware source depending on your project target
That last step is the rub; the package was > 700 MB, and the download happens automatically in-app. The transfer doesn’t seem to have retries built in and restarts from the beginning every time it fails–so you get to 200 MB or so, the connection blips, and the whole thing gives up. There’s not even a retry button; you have to delete and re-create your project.
Further complicating things, even though the download is just a .zip, the URL isn’t published anywhere I could find. That kept me from just downloading the thing with a more reliable and robust tool. Ultimately, what I did was:
- Remote to a machine with a more reliable internet connection
- Install the IDE
- Define a new project and download the needed files
- Re-zip the unpacked files (on Windows, (home dir)\Documents\Stm32Cube) and copy to OneDrive
- Go to sleep while files migrate, slowly but reliably, between machines
- Wake up, unpack the files, get to work
To be fair to the people at ST, they do have options in the IDE to optimize for offline development, even if they didn’t solve my particular problem. But it seems like it wouldn’t be too hard to at least post a directory of links to the middleware archives.
Actually Developing Firmware
With those teething pains behind me, the tooling was solid. The central experience of setting up a new project is graphical, based around this editor that’s pre-populated with the connections and functions for whatever board you’re using if, like me, you’re using an ST eval board:
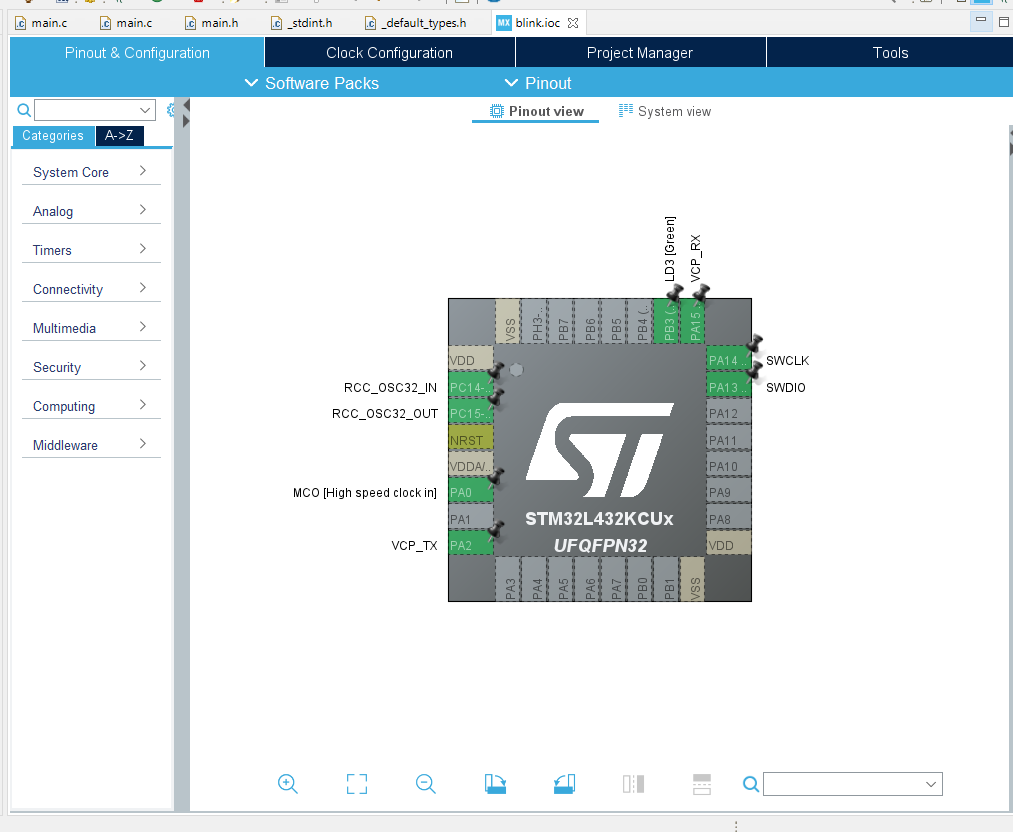
If you’re just using a bare chip, or you want to alter the function of a pin, the editor understands the functions available on each pin and lets you select or change what each one will do:
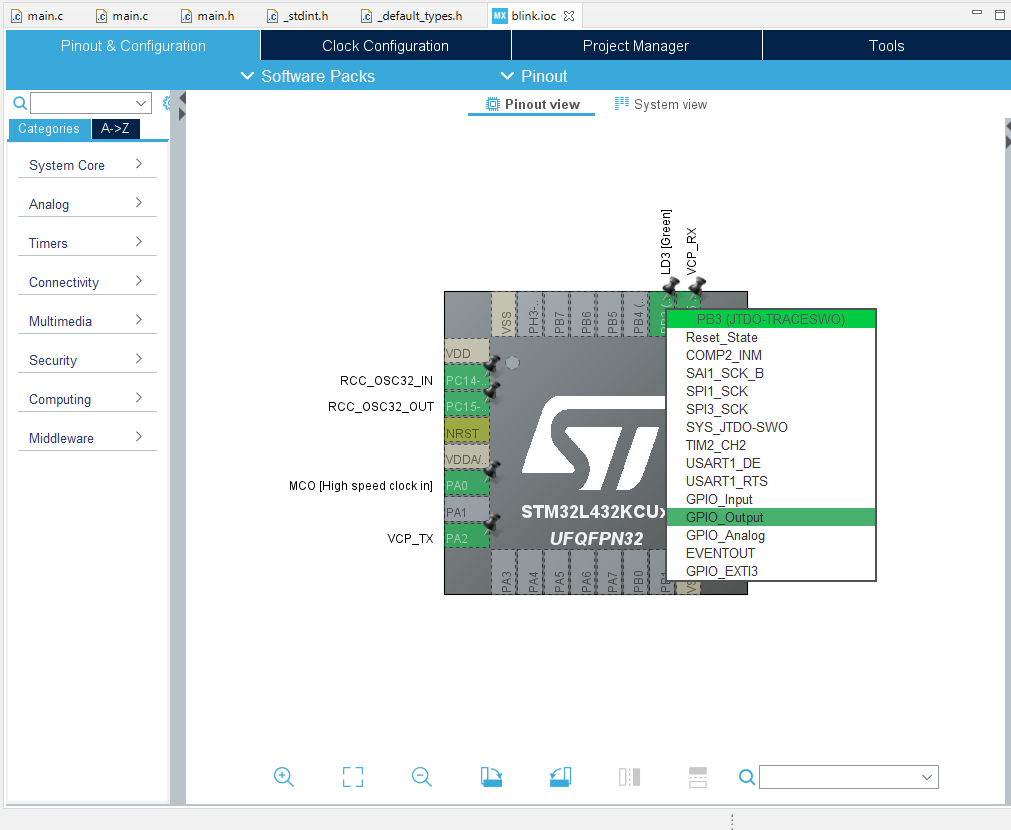
The raw editor data gets recorded in a custom format file that then gets compiled into boilerplate init code. You can also label pins and it will auto-generate macros for you; in this example, the eval board has a green LED connected to PB3 with the user label “LD3” pre-defined. In the generated header file, you see:
#define LD3_Pin GPIO_PIN_3
#define LD3_GPIO_Port GPIOB
So you can refer to LD3_Pin in user code without needing to take direct dependencies on pin names. It’s decently slick. There’s also a graphical view of how clock multipliers are connected that lets you edit the multipler values and visualize the results before the IDE generates the proper init code.
Overall, I got a simple blinking LED running in less than fifteen minutes. I attached a second LED to make a two bit counter, defined the new output pin, and got that running in another 5-10. So far so good.
For completeness, the actual code I wrote to blink the light:
HAL_GPIO_WritePin(LD3_GPIO_Port, LD3_Pin, GPIO_PIN_SET);
HAL_Delay(delayFactor);
HAL_GPIO_WritePin(LD3_GPIO_Port, LD3_Pin, GPIO_PIN_RESET);
HAL_Delay(delayFactor);
Everything else in that main file is auto-generated. Microchip has a similar offering for auto-configuring peripheral config called Harmony, but I found it to be much clunkier than this.
Finally, this really excellent video introduction by Shawn Hymel for Digikey does a great job of introducing the development environment and is worth a look if you’re considering using the platform.
Next I think I’ll bring up the USART, as debug strings will be valuable for working on other peripherals.